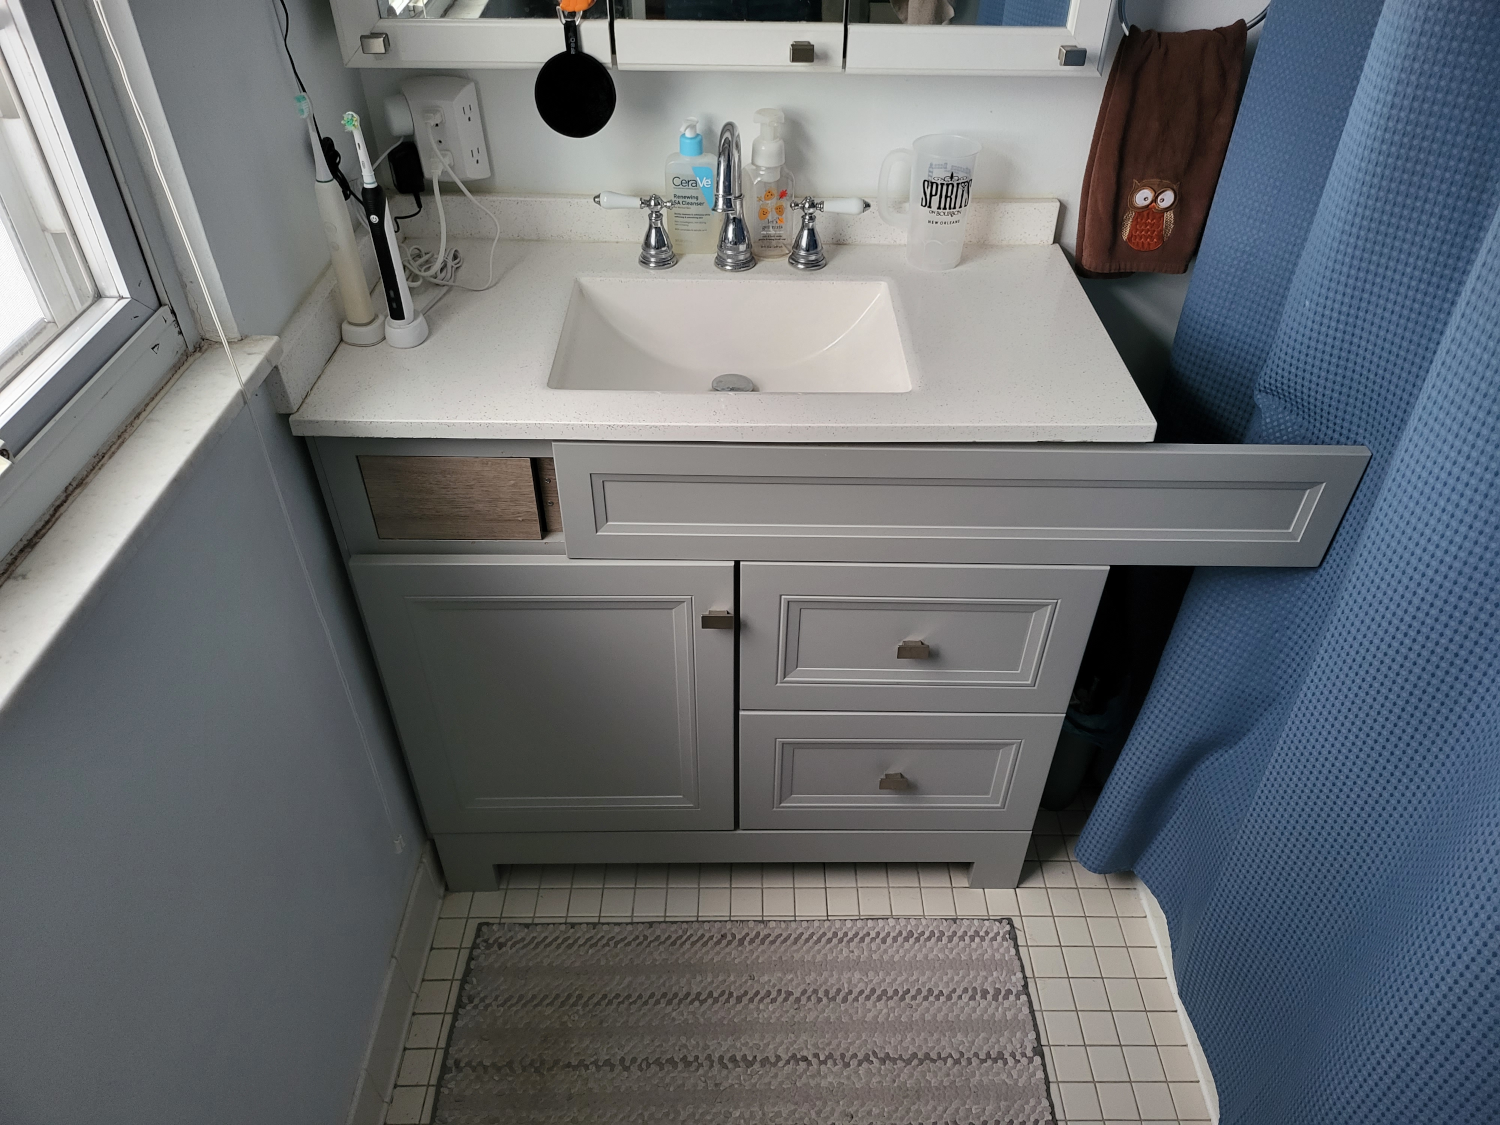
Ever since I was little, I’ve been fascinated by secret passageways, doors, and hiding places. I scoured my house looking for a hidden Bat Cave entrance or Clue-style passageway between rooms. As an adult, I haven’t yet mastered the skills to build my own Bat Cave, so I decided to settle for a secret drawer in my vanity instead.
The Result
I am very pleased with the result. I have a working hidden drawer in my bathroom, and the push-to-open slides for the front cover and drawer are sooo satisfying!
The Build
The build was relatively simple. For the skeleton, one board was required for mounting the front slide rail, and two boards were required to mount the drawer rails. Aside from the skeleton, the drawer itself needed to be built.
Materials and Tools
- Drawer Slides ($18)
- 6 Foot Shelf Board ($19)
- 1/8” Hardboard ($18) (for the drawer bottom)
Supplies
- Liquid Nails ($3.5)
- Screws ($1)
- 2x4 (for mounting drawer rails)
Tools
- Pocket Hole Jig ($30)
- Table Saw
- Drill
- Impact Wrench/Screw Driver
- Level
- Mallot
- Sandpaper
- Pliers
The Vanity Face
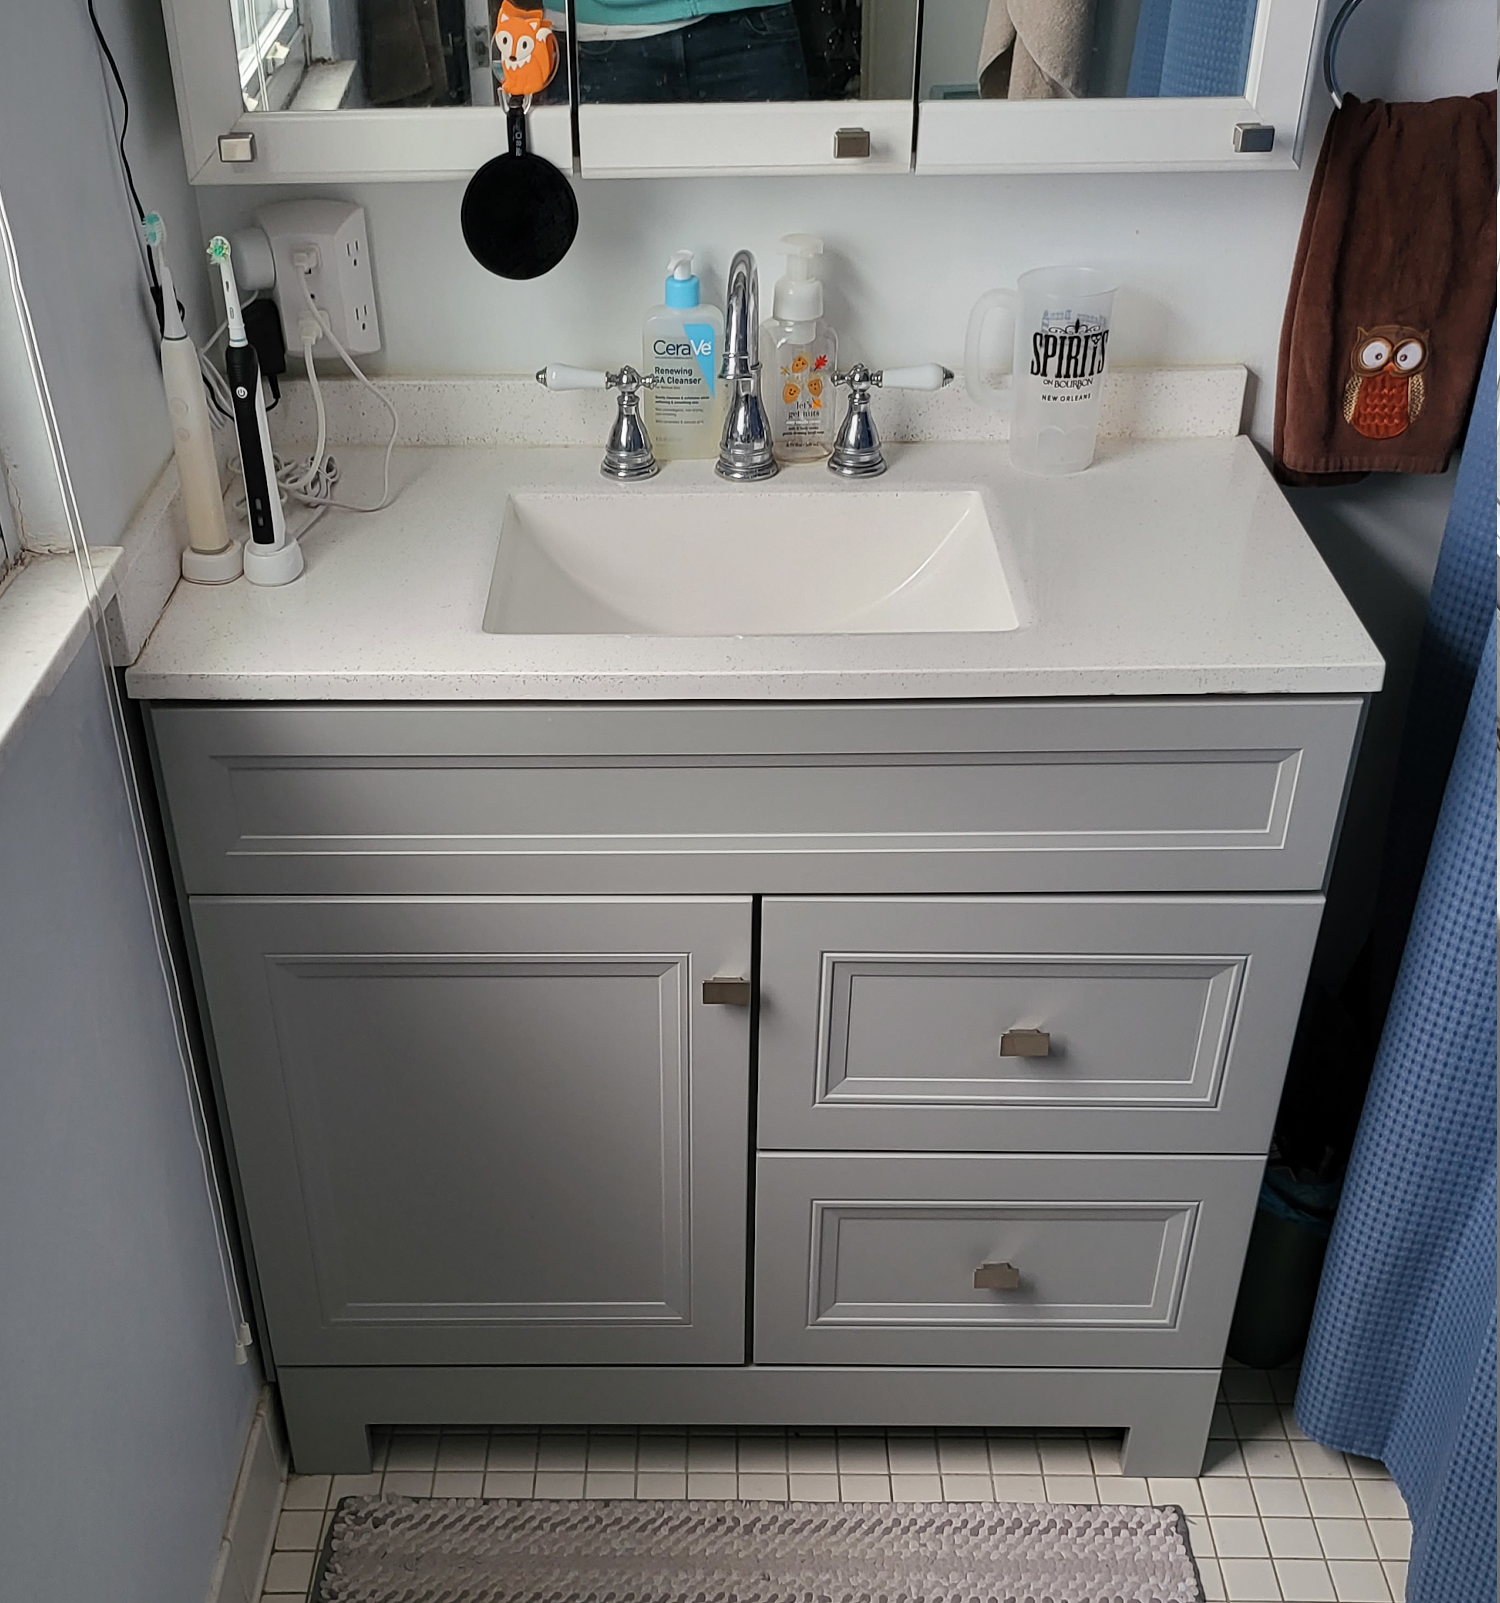
The vanity face that came with the vanity was originally held on by staples. All that was needed to remove the face was to pound on the back of the face using a mallot. After the face was removed, I used a pliers to remove the staples and sanded down the holes using a dremel with a sanding bit.
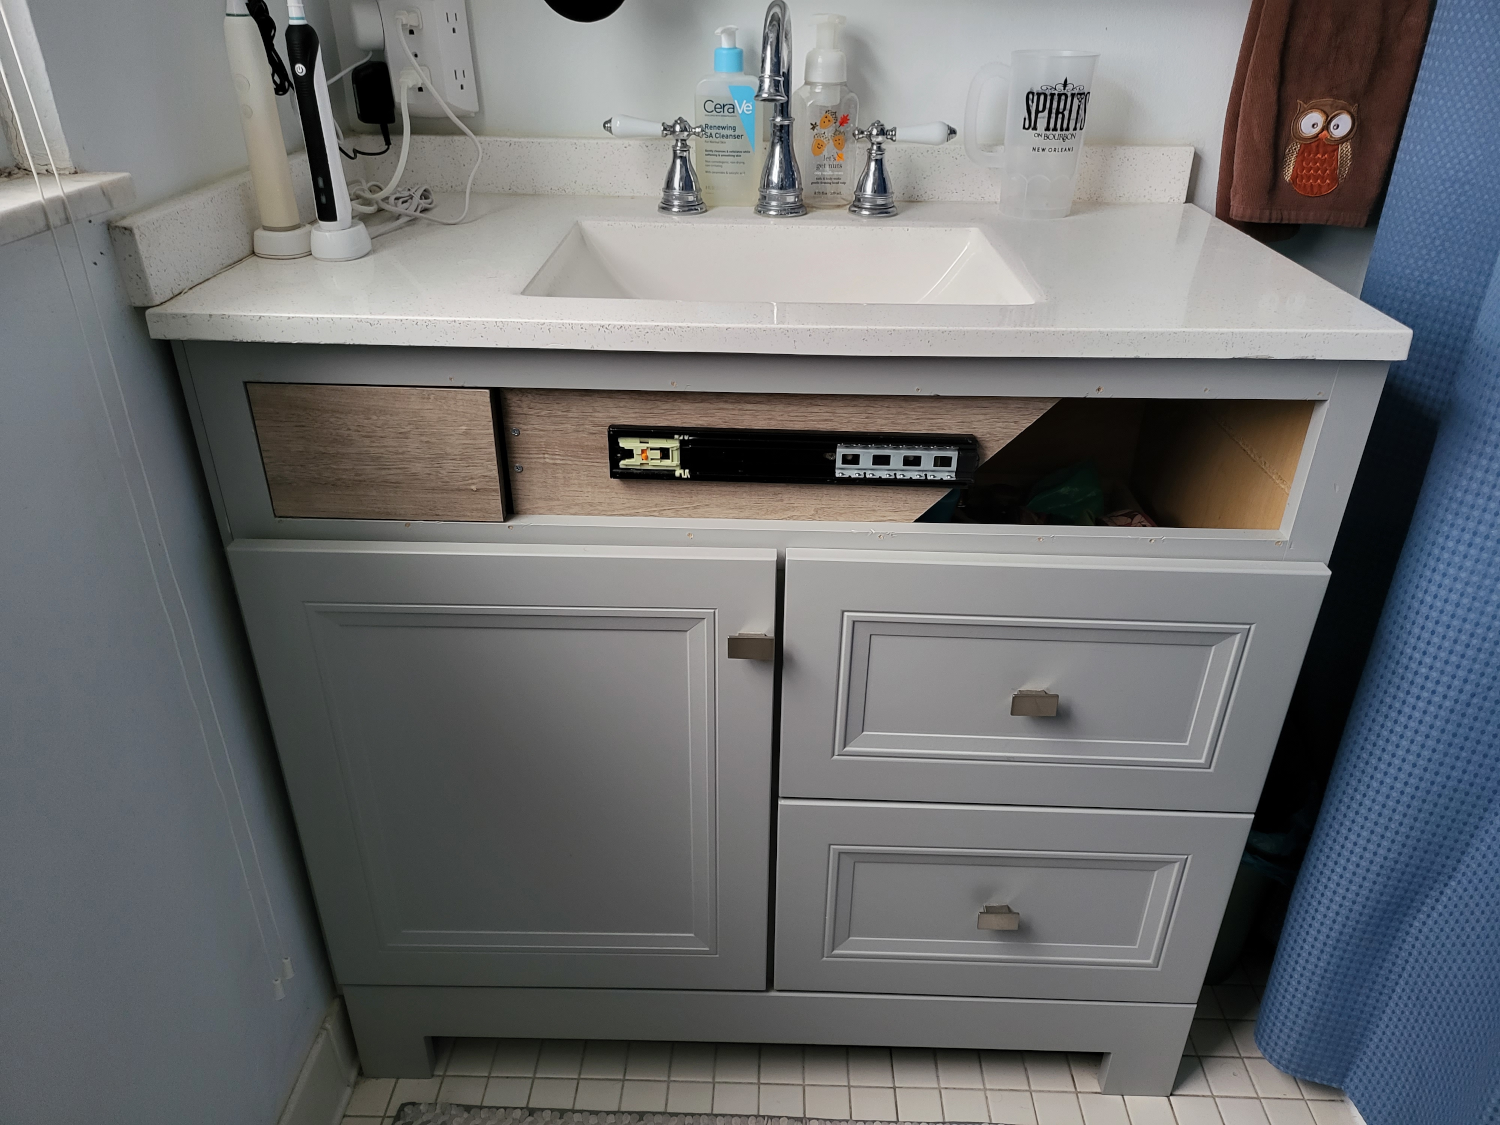
In order to mount the horizontal slide, I mounted a board to the inside of the vanity on the back of the face hole. In order to have enough room to access the release mechanism for the slide, I cut off the corner of the face mount board at an angle.
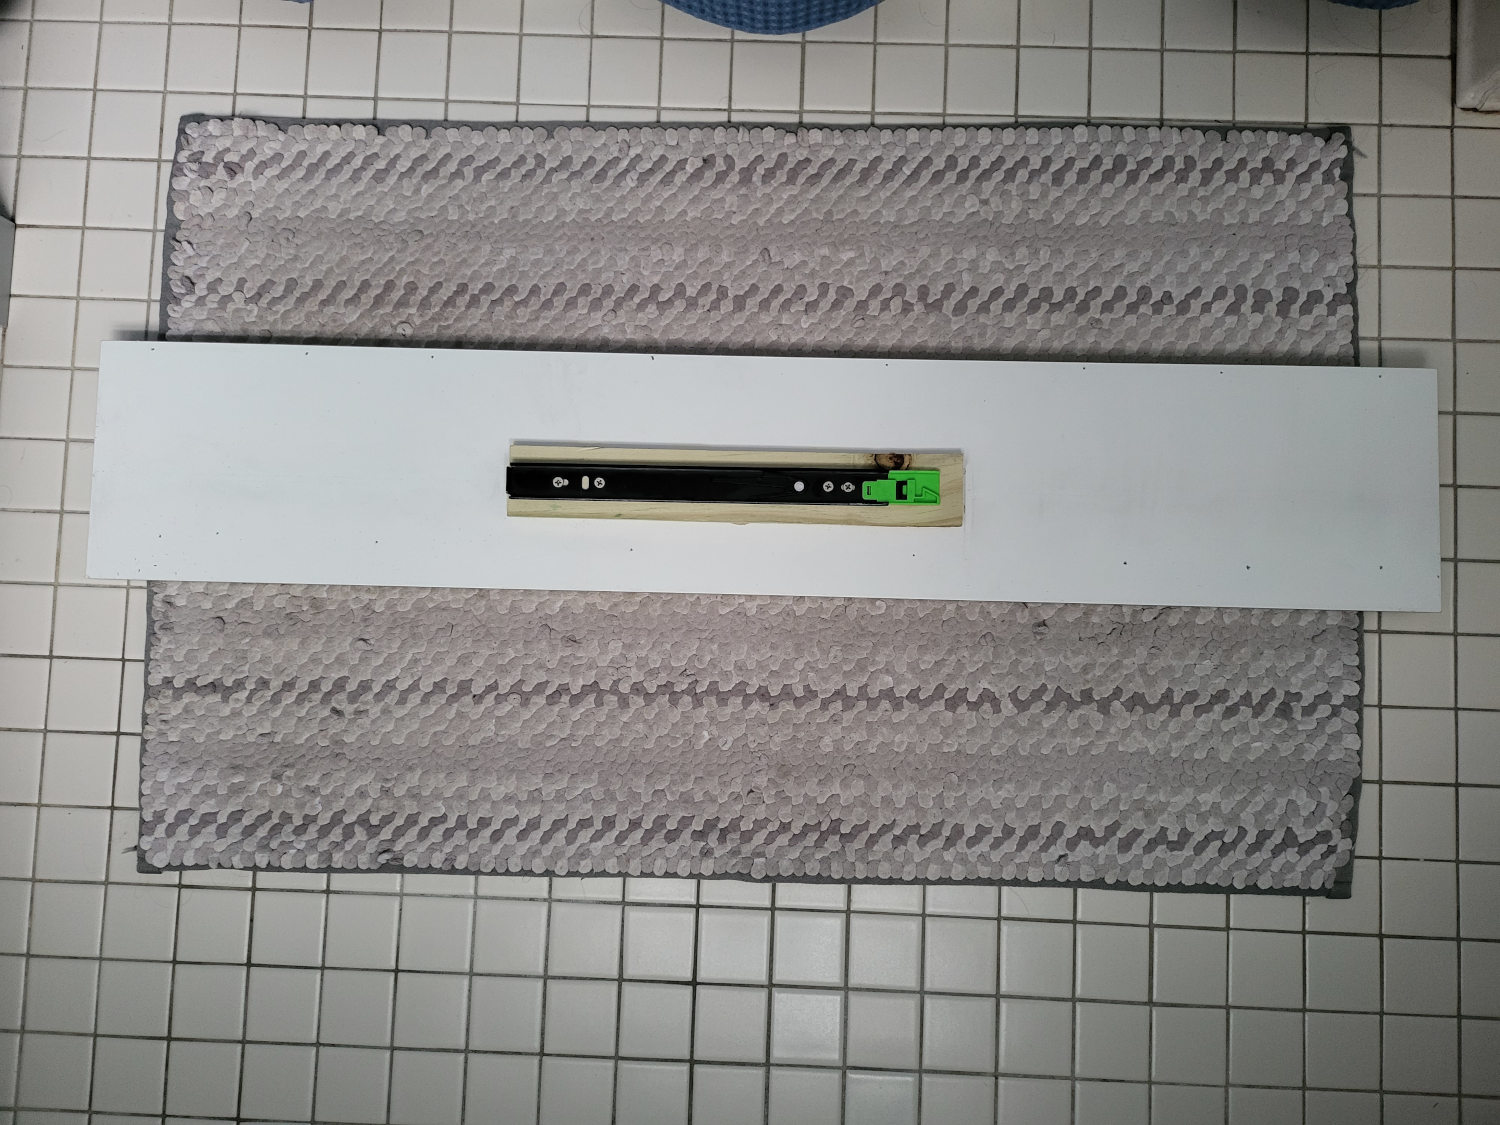
Once the face mount board was secured to the front of the vanity, a 1/4” spacer board was required as the face hole is 3/4” deep and the slides are 1/2” deep. The spacer board needed to be mounted to the face board as otherwise the screws provided with the slide would have penetrated through the front of the board.
The Drawer Rails
Instead of using the MDF particle board used for the drawer, I opted for pine to mount the rails for the drawer. Though I am not storing anything heavy in the drawer, I wanted the certainty afforded by using real wood (for added durability). The outside rail was simply mounted to the side of the vanity.
The inside rail was mounted to face mount board and the back of the vanity. Pocket holes were used to mount the back of the vanity. The back of the vanity is a flimsy hardboard, so I needed to mount a board to a stud behind the vanity, and then screw the rail board into the board mounted to the stud.
The Drawer
I ripped the shelf board to the desired height (4 1/2”). Then I cut a 1/8” deep and 1/8” wide slot through the board using the table saw to act as the groove for the hardboard drawer bottom.
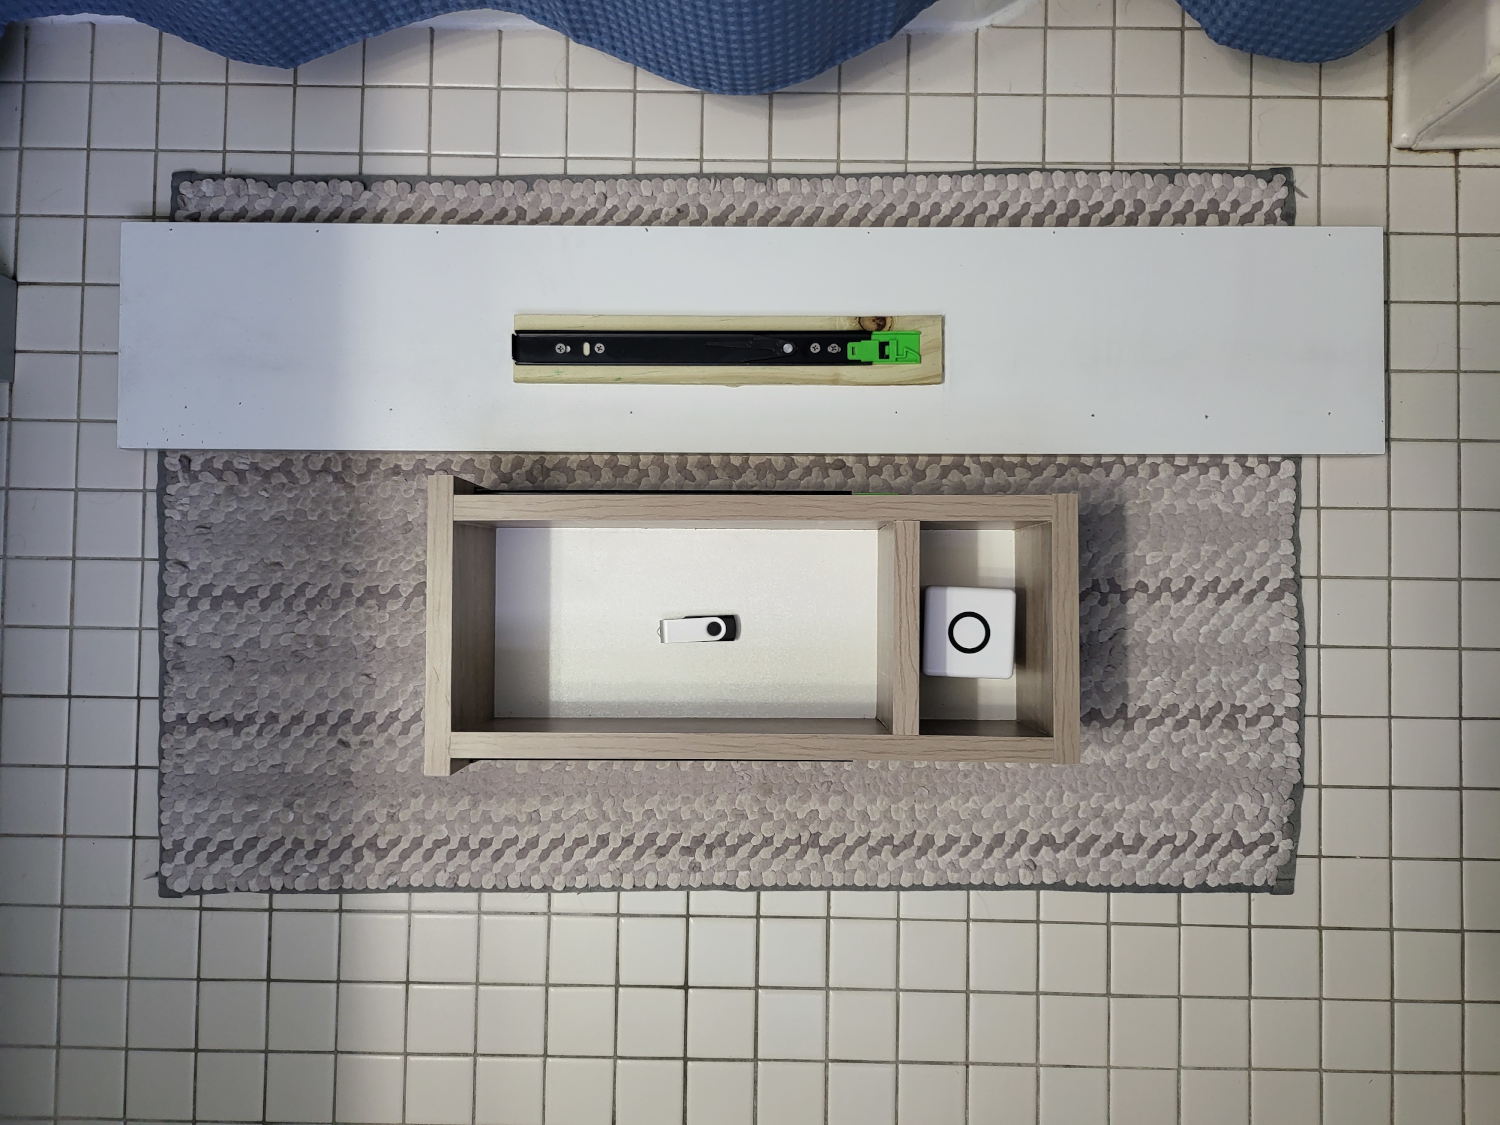
After cutting the board to the desired height, I cut the face, back, and side boards. I also cut a bonus “false” back board as the slides come out 12”, but the vantity is 16” deep (secret compartment inception)! I cut the hardboard according to the drawer dimensions. The edges required sanding to properly fit in the groove. I used screws and liquid nails to assemble the drawer. To attach the drawer front, I used pocket-hole screws.
Challenges
The biggest challenge was mounting the drawer rails. The rails needed to be mounted such that the drawer easily slid into and out of the vanity hole. Additionally, the rails needed to be set at the appropriate depth to ensure the drawer face was flush with the opening. Though the rails have slots etched into them to allow for adjustments, a number of holes needed to be re-drilled to properly align the rails.
Conclusion
If you have a vanity with space under the counter, turn it into a hidden drawer and be the envy of all your friends (if you tell them)!
